Geotagging is the process of adding geographical identification to the metadata of any media (such as photographs, videos, SMS messages or anything else). They are usually added in the form of both a latitude and a longitude, but additional information can be added as well, such as altitude, distance to another point, or places’ names.
I mostly take pictures while traveling and, although I try to take a lot of notes, it is sometimes pretty hard to remember the exact place where a specific photo was taken. Of course, if you take a shot of Piazza San Marco in Venice, or the Eiffel Tower, there is no doubt that you will remember where it was! But for less known places, and especially for landscapes or any image that does not include an obvious landmark, finding out the exact spot a photo was taken can become really tricky.
Some photographers don’t care about geotagging… and that’s perfectly fine! For portraits, macro or anything similar, I don’t care either, even though I tend to geotag those images anyway just because it’s part of my general workflow. But recording the exact spot where a landscape shot was taken has already proven to be useful for me since I already went back, years later, to a specific location just to shoot the same scene at another time of the day or another time of the year.
There are several ways to add geographical information to your images. You can use your camera’s built in GPS if it has one, you can buy a GPS unit that you can link to your camera, use your smartphone to take reference shots or use any device that records GPS tracks and add the coordinates to your images afterwards. Let’s go through the whole thing.
Use your camera’s built in GPS
If your camera came with a built in GPS, it’s perfect! As soon as your camera gets a valid signal from the satellites, it will automatically add the coordinates to the metadata of your photos.
However, although more and more point and shoot and entry level cameras do have a built in GPS, most of the high-end DSLR’s and mirrorless cameras still don’t. The reasons for that are not very clear. The magnesium-alloy structure of the camera was said to interfere with the satellites’ signal (which is a weird explanation since a GPS chip is very small and can easily be placed outside the metallic skeleton of the camera). Hence, adding a GPS chip was said to drain the battery faster which, again, is a bizarre excuse since today’s camera batteries have such high capacities… and you can switch off the GPS receiver anytime to save battery.
Buy a hot shoe GPS unit
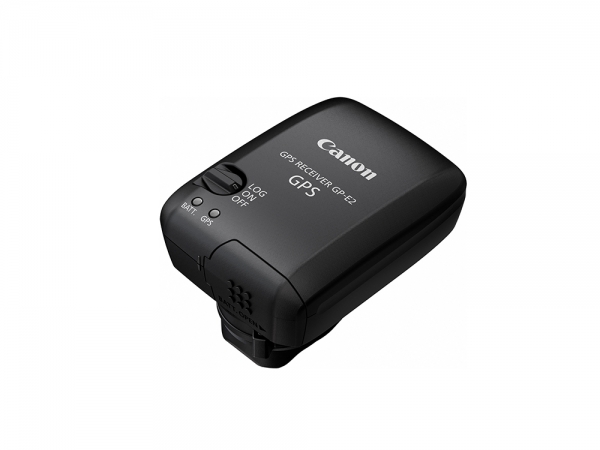
Surprisingly, in the Canon and Nikon ranges, only the Canon 6D and 7D Mk II as well as the Nikon D5300 have a built in GPS so far. But both manufacturers sell GPS units that you can attach to your camera’s hot shoe: CANON’S GP-E2 and NIKON’S GP-1A. Once they are connected to the camera, that their batteries are charged and they are switched on, they will add the coordinates to the exif of each picture you take.
It can be a good solution for sure but these devices are quite expensive (around $200-$300) and if you’re using more than one camera, you’ll either need several GPS units, or you’ll need to constantly switch the unit from one camera to the other, or you’ll simply need to accept that the images of one of the cameras won’t be geotagged. And if the cameras you’re using are from different manufacturers (that’s my case: I have a Canon 5D Mk II and a Sony A7R), you’re screwed anyway.
Use your smartphone
Some photographers friends of mine take a picture with their smartphone when they want to geotag a specific location. Indeed, most smartphones have a built in GPS (but high end cameras don’t!) and automatically geotag the pictures they take. When doing this, all you have to do afterwards is to add the coordinates to the metadata of your images, or just keep the smartphone’s shots as a record.
A better, yet very cheap alternative to taking reference images with your smartphone is GPS4CAM, an app that is now available on Apple’s App Store as well as Google Play. More about this in the next paragraph.
Use your outdoor activity GPS and a desktop software
If you own an outdoor activity GPS device or a GPS tracker, you can certainly use it to geotag your images as well. Any device that records GPS tracks will to the job. All you have to do is to make sure that your camera’s internal clock is synchronized with that of the GPS device. Pay attention to time zones while traveling! Your GPS will adjust automatically but your camera won’t. As you go out to shoot, turn on the GPS and let it record your path while you take pictures.
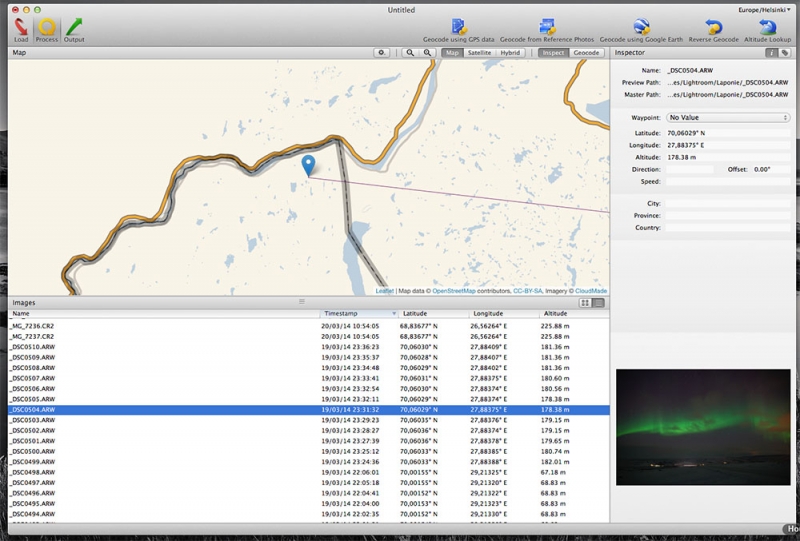
Once you’re back home, you’ll need a desktop software that matches the images to the GPS tracks that were recorded based on the time stamp of each image. This is the reason why the camera’s clock need to be perfectly synced with the GPS. Otherwise, all the geotags will be wrong! But don’t panic if you suddenly realize, after a shoot, that the clocks weren’t synced. Most softwares allow you to enter a time correction, but it makes things a little bit more complicated.
There are several softwares available for both PC’s and Macs: GPICSYNC, GEOTAG, PICTOMIO, HOUDAHGEO and many more. Some of them are free. I personally use HoudahGeo because it fits my needs and is very powerful (you can geotag using a GPS device, reference pictures, Google Earth and more), but you have to buy it (it’s only $29, though).
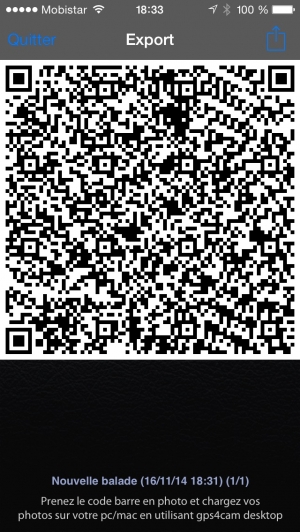
GPS4CAM works approximately the same way, except that you can use your smartphone as your GPS device. For a few dollars only, you download an app that records a GPS track. At the end of your shooting session, it creates a QR code that you must photograph with the camera you’ve been shooting with. Then, you need to upload your images into a desktop software (it’s available for free) and the software uses the QR code and the time stamp of each image to geotag them. The good point is that you don’t need to synchronize your camera’s clock to that of the phone. The not so good point is that the app captures the coordinates once every 5 minutes, which is not extremely accurate (although you most probably won’t move that much every 5 minutes). There is an option to capture the coordinates every 30 seconds, but then it drains the phone’s battery faster…
The advantage of using an outdoor activity GPS and a desktop software is that it is possible to geotag pictures that were taken with multiple cameras.
As a conclusion
There are several options available for one who wants to geotag his images. There is probably no good nor bad solution, just one that best suits your needs. Personally, I’ve opted for GPS tracking through my Garmin wristwatch because I wear it all the time and because it allows me to geotag all the images taken with either my Canon or my Sony.
A thorough tutorial on how to geotag images with an outdoor activity GPS and a desktop software will be available very soon.
Enjoyed this? Share it!
Share this post with your friends: